When a friend of mine undergoing treatment for cancer started to lose her hair, I wanted to sew her a hat. After looking around a little, I settled on this style. This is my version of a headcovering I came … Continue reading
Back again
Gallery
So, this blog has been untouched for quite awhile. There were several more pressing things going on, so I put it on hold. Not that I haven’t been crafting!! Just haven’t documented the process. But, a few things have changed … Continue reading
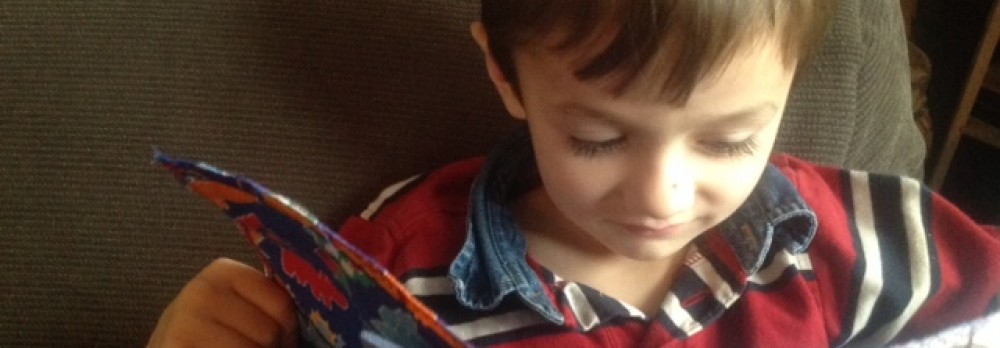
Doodle your own coordinating fabric
1
You can quickly and easily doodle some coordinating fabric for your next project.  Here I fussy cut the front yoke panel.
  Then doodled all around the centered flower. I love these sharpie fabric markers, they hold up well through regular wash and wear.

Scarf Poncho Top
 I love scarves: the prints, the drapey fabric, and I love using scarves to make one of a kind clothing. The girls and I found this lovely rayon scarf marked down at a local discount store- and we couldn’t pass it up. A scarf poncho top seemed like the perfect thing to use it for. You must start with a square scarf. Here I’m using a 38″ square rayon scarf. I will be making a girls sz 12 top. This scarf is plenty big for this size, and would probably work for up to a lady’s extra small. I’m a size small petite and I have used a 39″ square scarf for a top for me, with no extra to spare. A larger size would need a larger scarf. How to judge? The length. You need something twice the intended finished length. If you’re using a rectangular scarf, you would need to worry about width also.
 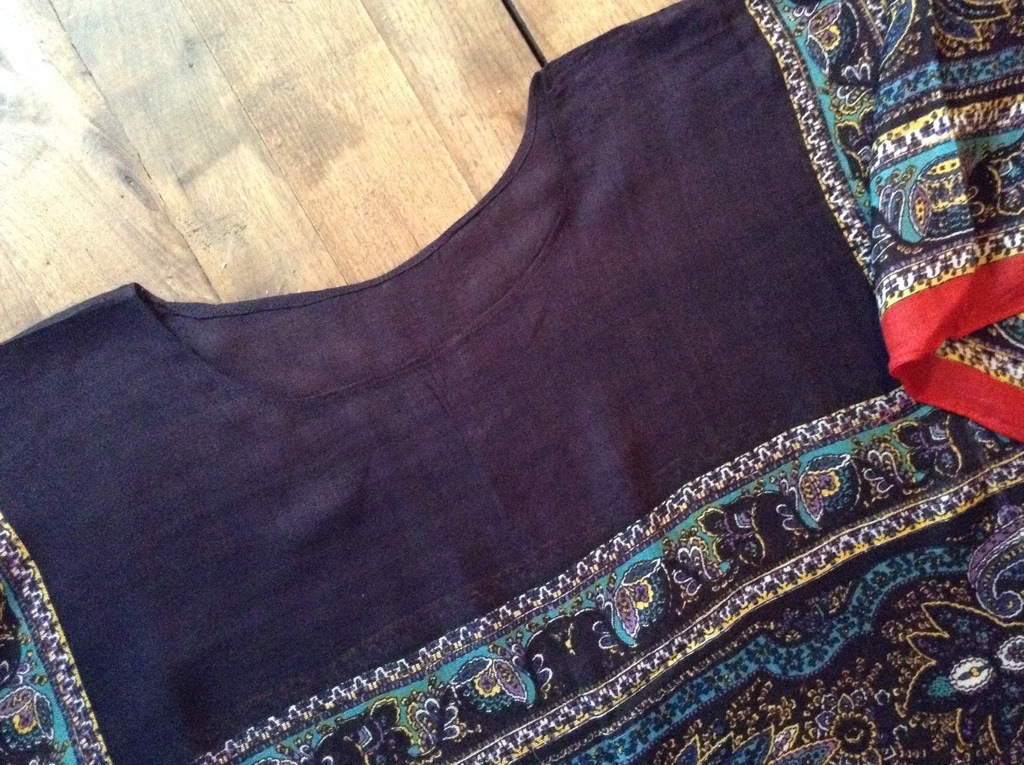 Find the exact center of the scarf and cut a neck opening. I like to keep it as small as possible and still fit over my head. This kind of opening can quickly accidentally get too big. The raw edges are carefully turned in 1/8″ twice and stitched in place on the sewing machine. When I made a neck opening on a silk scarf I did a hand stitched rolled hem. You also could do a small bias binding, but I hate to think of adding extra bulk to the scarf.

 Now you need to find something in your closet that is of a woven fabric that you can get on with any buttons buttoned or the zipper zipped. It is hard to see, but the sides of he scarf are pinned to keep the layers from slipping and I made a chalk line on the scarf following the curve of the other garment. Here I’m making the stitching line about 1/2″ further out to allow the child to grow. You could follow the edge of the garment exactly if you’re happy with its fit. If you are unsure, you can always baste first and try it on. Be careful with the fragile fabric, though! Notice how much of this scarf is below the waist line here. Because of that extra length, I didn’t stitch all the way to the bottom of the scarf, but stopped a few inches up, at the green line. On mine, the scarf only comes down to my hip line so I stitched clear to the bottom. There are no seams for the arms, just the side seams.

 I hope you enjoy this post. It is a great way to use a great scarf that might be sitting in the bottom of your drawer otherwise.
Hand Sewn Reverse Applique Bag
 I recently went on a two day car trip, and instead of knitting, I hand stitched this purse. I love the knit fabric reverse applique technique from Alabama Chanin.
 Before I left home I cut out my main pieces and traced the stencil onto my fabric using a washable marker. I don’t worry about the grain lines, in fact, I think the finished product has more texture if the grain lines of the fabric run different directions. I would recommend single knit all cotton fabric for this technique, though I’ve had fine results with mixed fabric content.
The pieces I started with-
For the body of the bag, 2 pieces, one red one black, 20″ x 11 1/2″
The lining, one piece the same size, 20″ x11 1/2″
For the inside pockets a piece 8″ x 10″ and one 5″ x6″
For the handles a strip of each color 3 1/2″ wide, 42 1/2″ long
A 9″ zipper
Embroidery floss and larger needle with a sharp point
Two metal rings
A few extra scraps of fabric
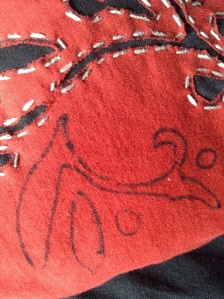 In the past when I’ve used a black or other dark color fabric for the top fabric, I have traced my stencil with a silver permanent marker. Over time the marker washed out, and I was happy with the results with the marker showing and when it washed out.
The two main body pieces should be safety pinned together, then the fun begins. Stitching just outside of your marker line, outline the entire pattern in a running stitch. Using small sharp scissors carefully cut out the inside of the design. I love this technique. It is very simple, comes together quickly and makes a big impact. (I ran low on embroidery thread so left a part of the pattern undone, that is why you can see marker lines that aren’t stitched)
 Moving on to the bag lining, I switched to regular needle and thread and stitched the pockets to the lining piece. The larger pocket was folded in half so it was now 8″x 5″ with the fold making the top edge of the pocket. One edge of the 5″x6″ piece was turned down twice and stitched making the pocket 5″square. The pockets are sewn on opposite ends of the lining- one on each side of the finished bag. Raw edges are left exposed and a running stitch was used. This could all be done on the sewing machine, if you’re not working on this on the road like I was. Not shown is a stitching line down the center of the large pocket, dividing it into two smaller pockets.
I’m using exposed seams on the sides, I liked the black showing and the fabric rolling away from the seam, almost like piping. To put the bag together the outside and lining pieces were laid together, wrong sides together and folded in half.
 To allow for some width to the bag, I made a 1 1/4″ reverse pleat on the bottom fold. See the photo.
The sides were stitched up with a half inch seam allowance, allowing the edges to roll.

The zipper was centered in the top opening and securely stitched in place using a back stitch. Raw edges are again exposed and trimmed to about 3/8″ after the stitching is done.
 The two tabs to hold the handle rings are just pieces of fabric about 3″ square. Stretch them a little and they should roll up.
Then fold them over the rings and push them into the opening at the end of the zipper.
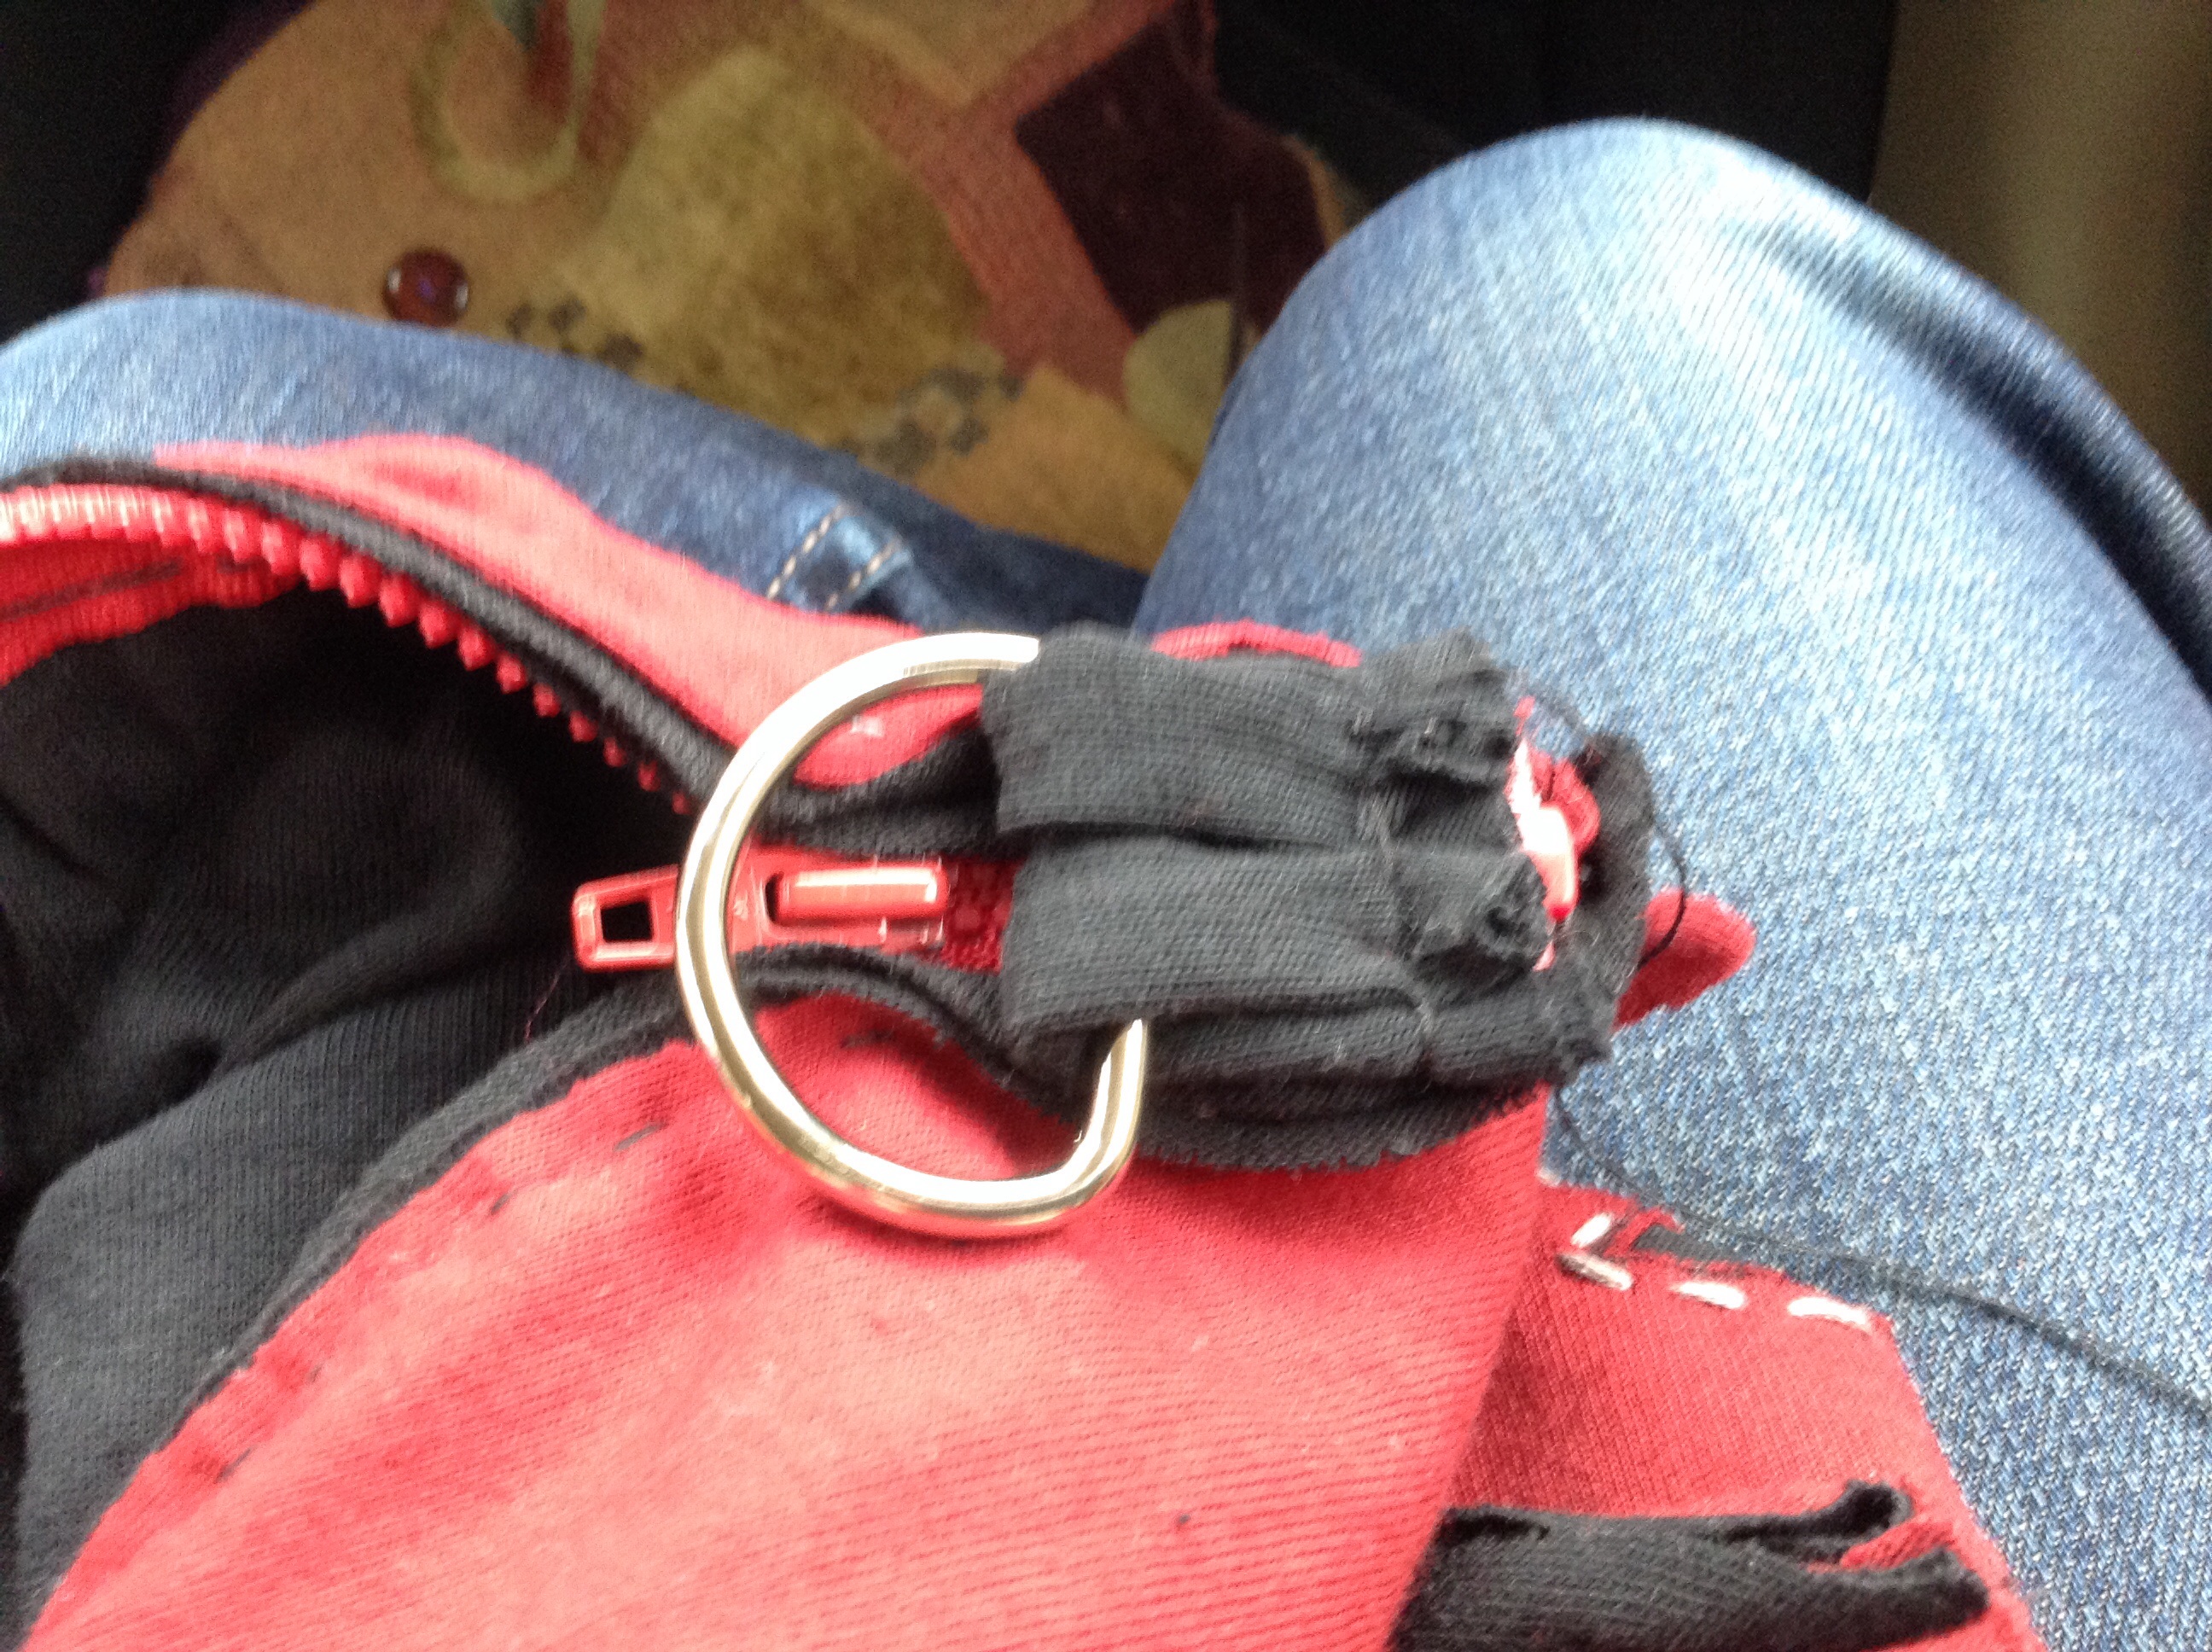 The top corner of the bag should be flattened out a little where the rings are attached and securely stitched.

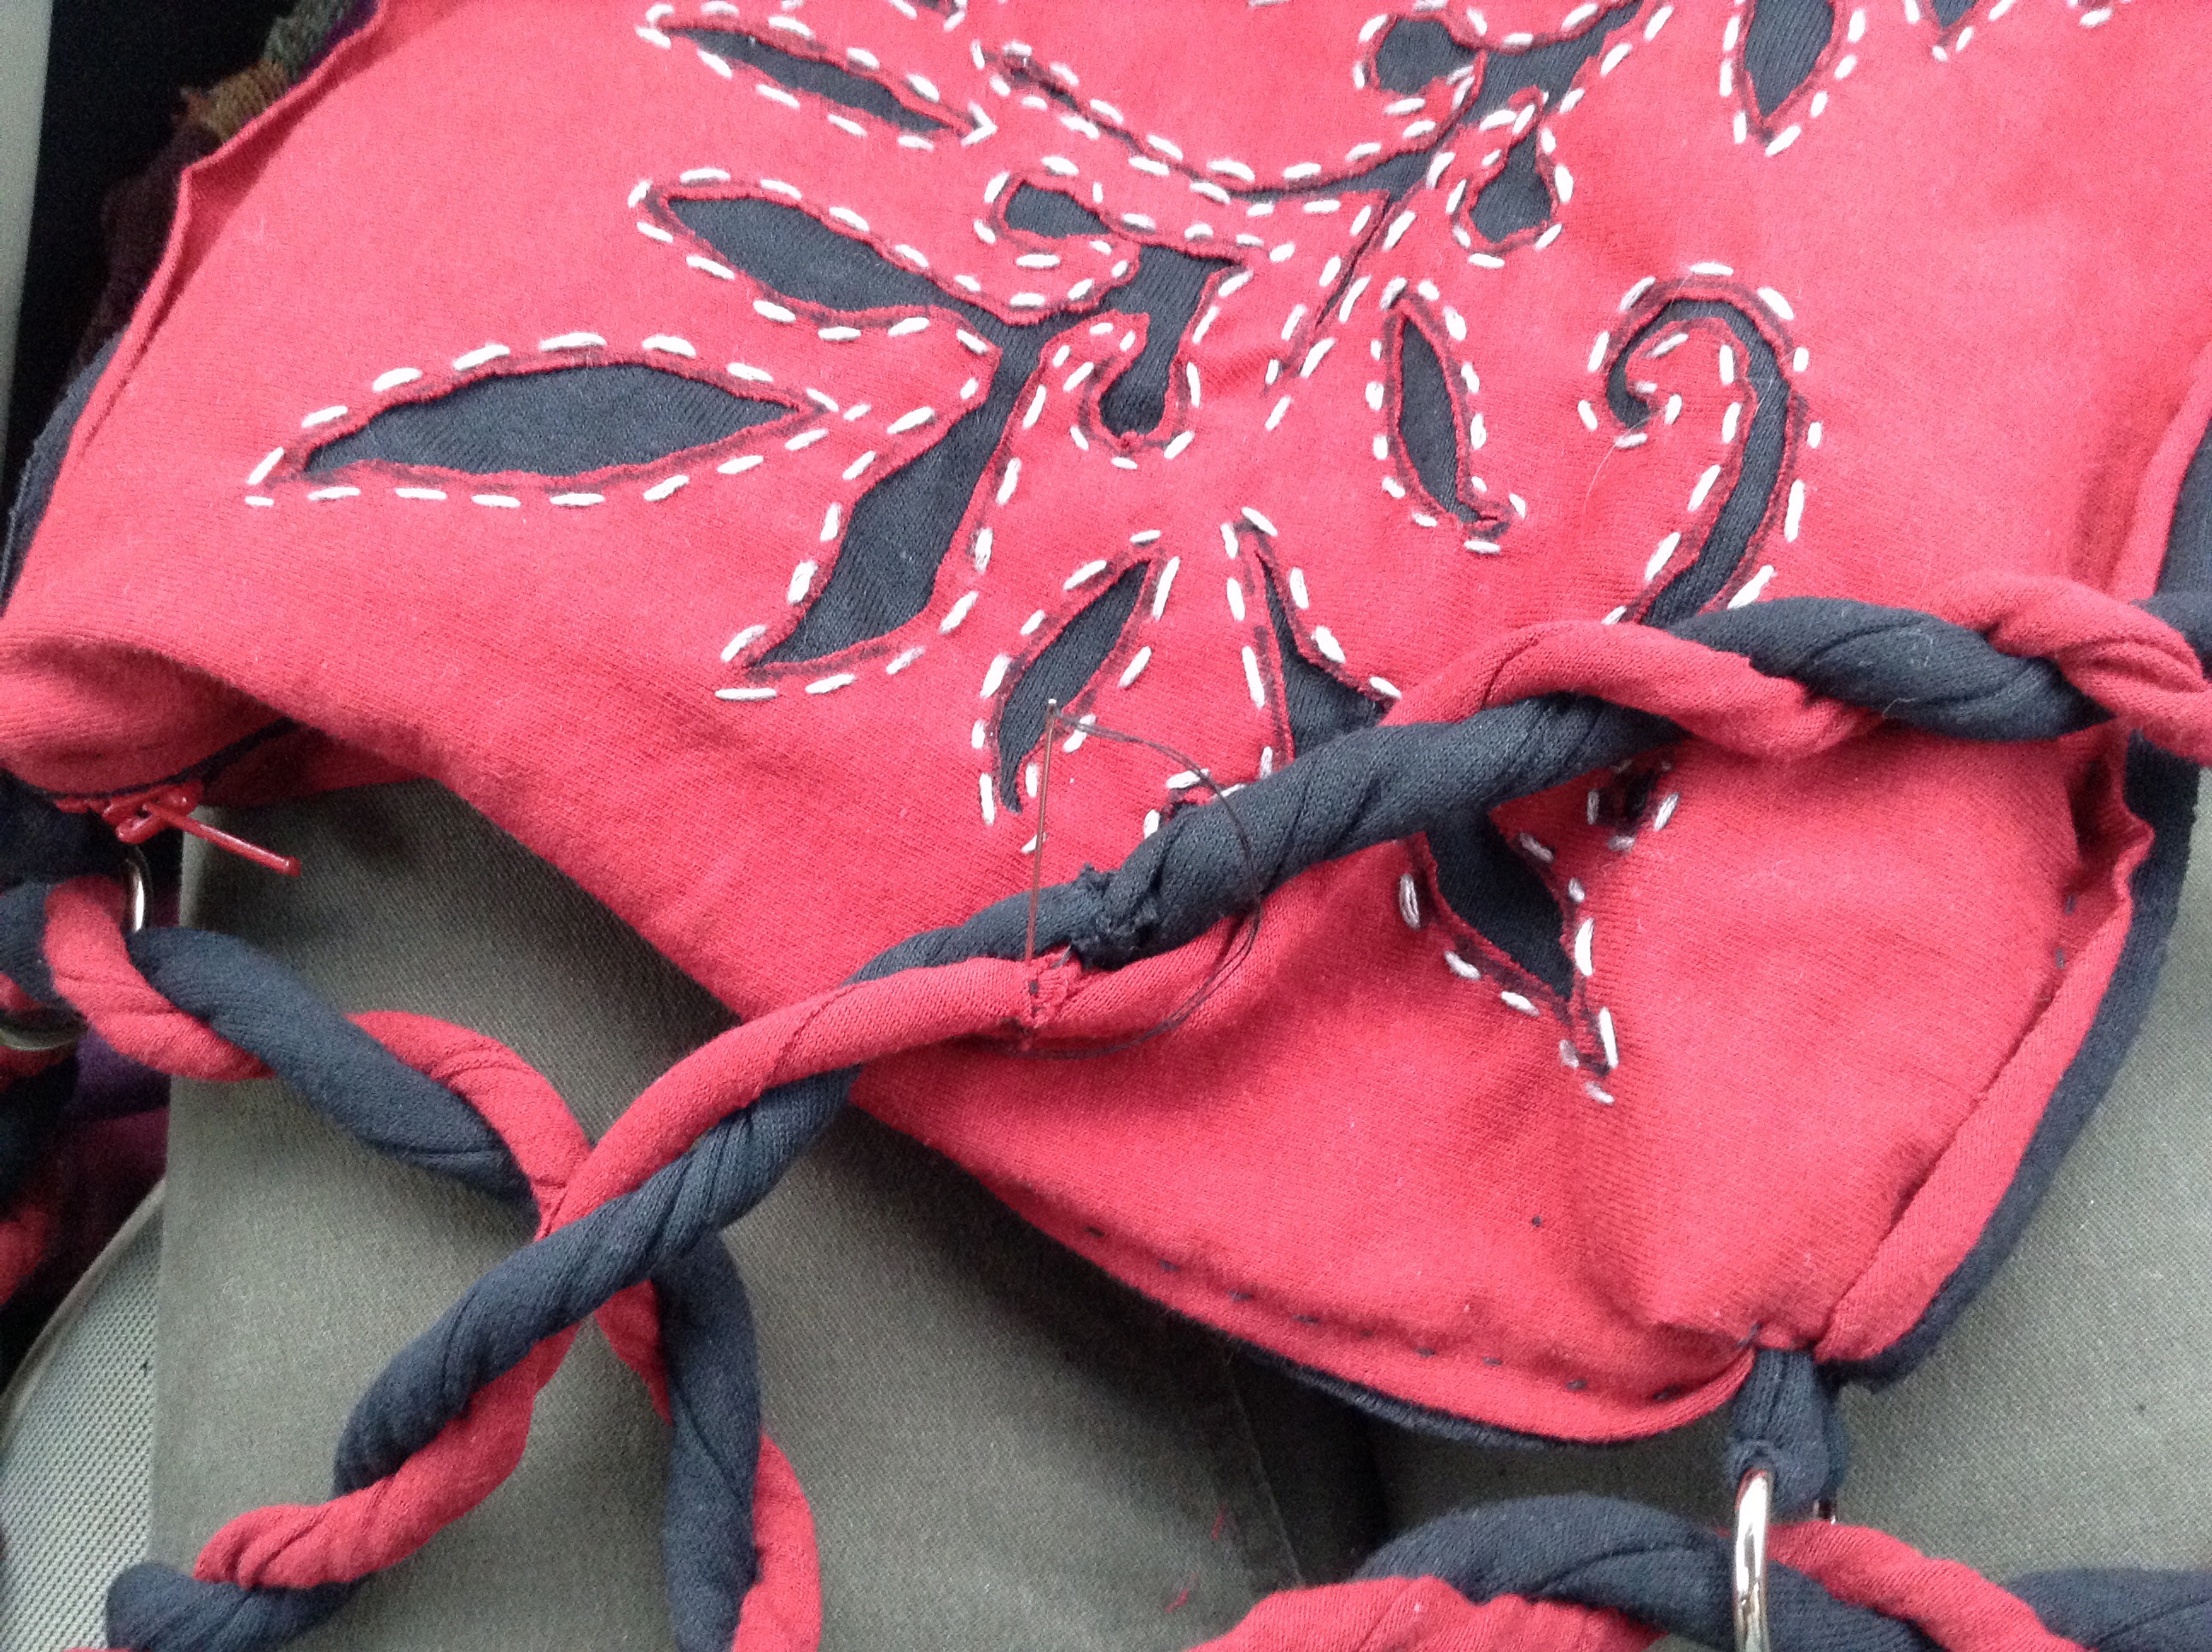
The long handle pieces will roll when you stretch them. Tack one end the pieces together.

 Here you need someone else to hold the tacked ends so you can tightly twist the strands. (Preferably someone in the back seat)
  Once they are tightly twisted and are the same length, carefully twist the tacked end the other way, making “rope”. Don’t drop the ends!
Thread the tacked ends through the rings making one big loop and securely sew the lose ends to the tacked ends.
Cover the ends with a scrap of fabric, wrapped around and sewn in place.


One more little scrap of fabric is used for a zipper pull. Thread it through the hole in the zipper and stitch in place, wrap with embroidery floss.

I was surprised how quickly this came together, I’ve never been much of a hand sewer. I do love the Alabama Chanin look though!! We’ve done lots of tee shirts with appliqué embellishments- very quick, easy and satisfying, more on that in the future.
Unused hand knit sweater to pillow cover
Gallery

This gallery contains 9 photos.
This pillow cover is made from an old hand knit sweater my mom made years ago. She is an expert knitter, and since no one in the family seemed ready to adopt the sweater, and I couldn’t bear to just … Continue reading
Blossom hair clips
Gallery

This gallery contains 13 photos.
These peony-like hair clips are so easy to make and addictive! We made a few of these with our girls group earlier in the week, and my girls have been making them ever since. The edges of the petals are … Continue reading
Tie-dye yardage #2
Gallery

This gallery contains 5 photos.
Here I am heat setting Rit Dye in the oven, and the results are great! Normally, I’d do a smaller piece, like this in the microwave; the oven is great for more fabric than would fit in the microwave. But, since I … Continue reading
Tie-dye yardage
Gallery

This gallery contains 11 photos.
I recently was given 23 yards of green quilt weight cotton fabric. Now, I love fabric, and there is always room in my stash for more, but this color was not something I envisioned using much of- especially 23 yards!! … Continue reading
Tie Dye Hairbands from tired tights
Gallery

This gallery contains 16 photos.
Instead of just tossing those stained and worn tights, why not make them into hairbands? Last fall’s bright white or colored tights now have grey heels and knees, but by chopping them into bands and “tie- dyeing” them with permanent markers and alcohol, … Continue reading
